

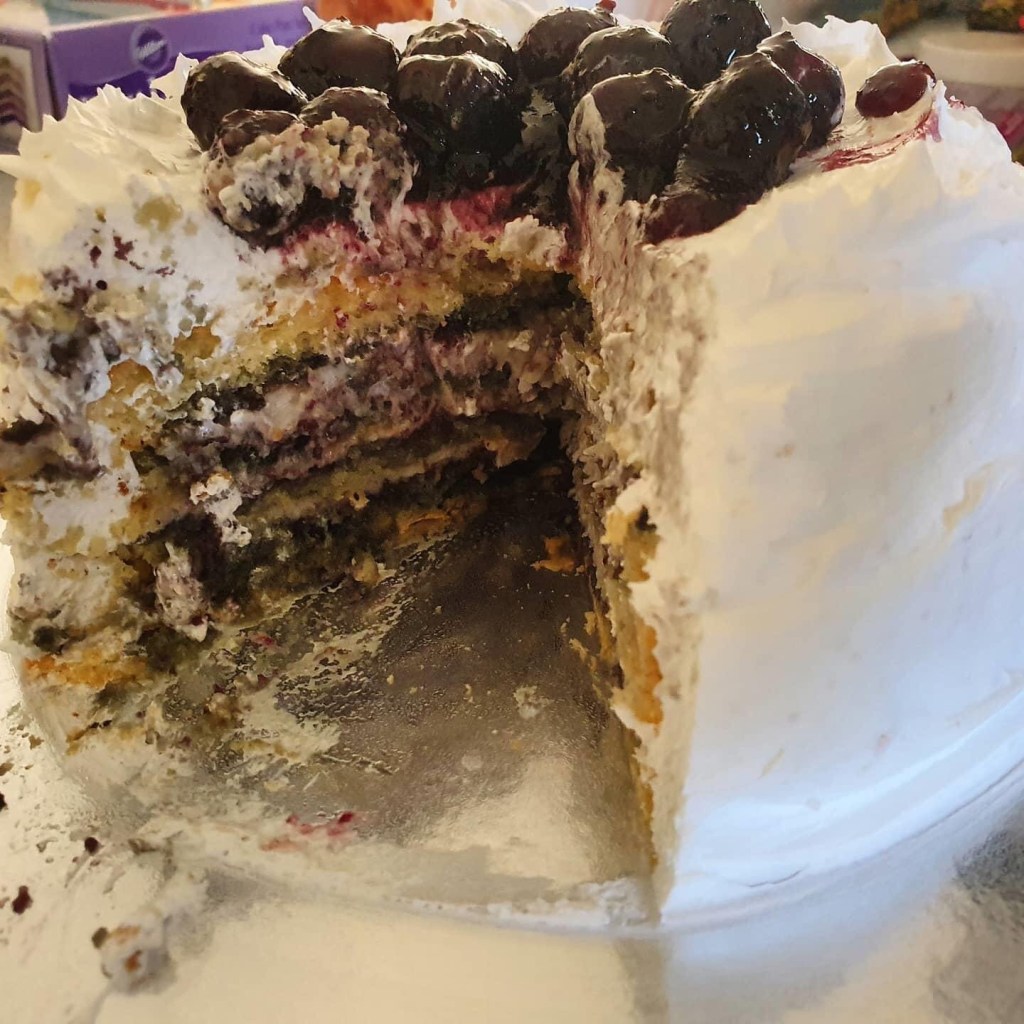
This stunning-looking cake sprung up from a recipe I stumbled upon is a Facebook Recipes group. I adjusted the recipe to be gluten and dairy free, and significantly reduced the sugar content. Since I’d purchased some new layering cake pans, I’d already had a few goes at different flavour combinations of this cake such as a tiramisù version and a lemon myrtle and peach version so, making this one for my parents was a lot easier and the flavour combination was one I knew they’d both appreciate.
Inspiration was drawn from my mum’s love of blueberries – they have them growing in their back courtyard and mum eats them daily. In fact, there are never enough so she always buys extra punnets at the supermarket and freezes them while fresh.
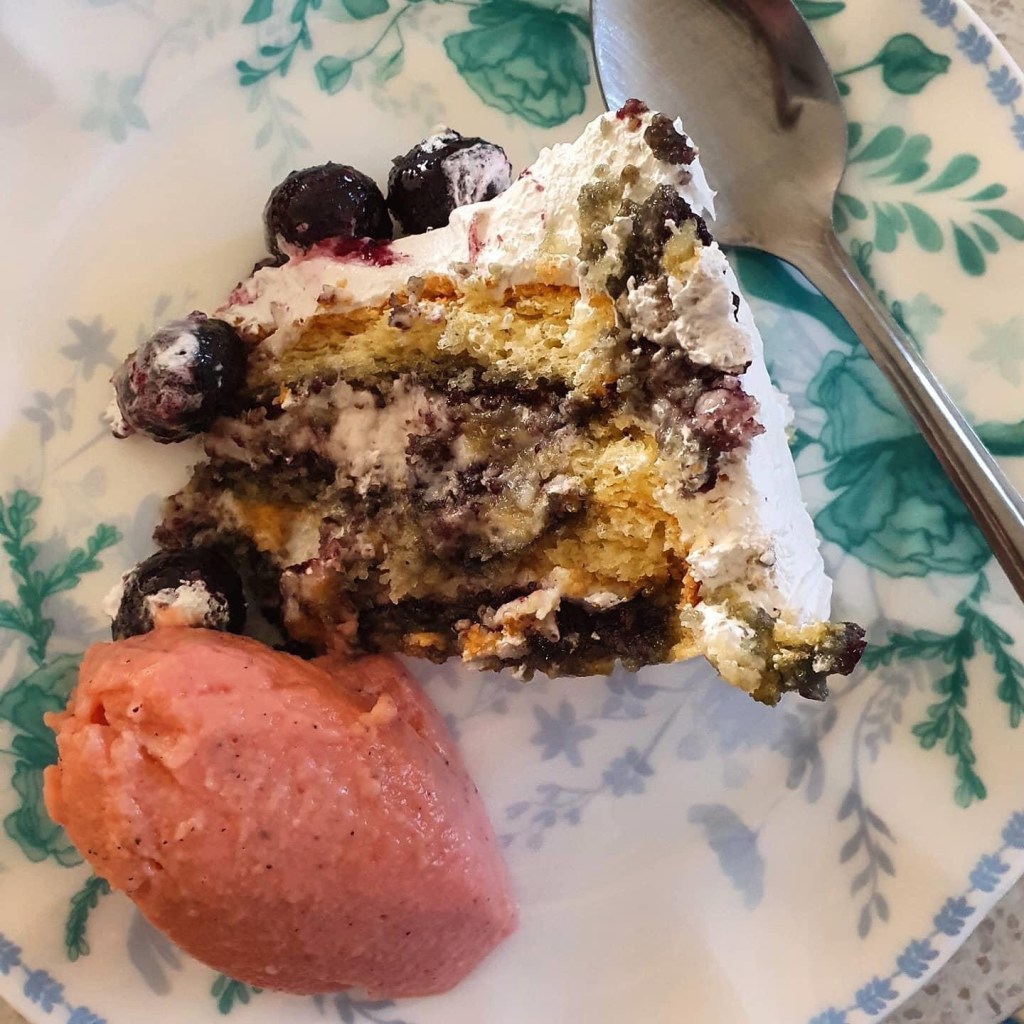
Dad, on the other hand, isn’t much of a fan of the tartness of fresh blueberries, so I had to think of a way to bring out their natural sweetness to enhance this cake. I remembered a gift I’d bought my mum from near where I live, The Grounds of Alexandria – Blueberry and Violet jam. It’d be the perfect ingredient to tie this all together and bring harmony to their often very different tastes. I used the jam between the layers, and also some warmed with the handful of frozen blueberries used on top of the cake finished cake.
There was one hiccup, though. I’d planned for a contrasting pink dragonfruit crème patissiere to separate the layers and provide a visually appealing layering of blue, pink and yellow but it turns out mum has an allergy to it. We discovered this when she taste tested the completed custard for me and so it remained separate and I served it on the side for my dad and me. I decided to opt for a whipped coconut cream, stabilised with a little xanthan gum and flavoured with a little vanilla to keep the cake edible, and enjoyable, by all of us.
We also had some spare egg whites from making the crème patissiere with the yolks, so I decided that instead of a buttercream frosting I’d make a fluffy marshmallow-like cloud covering for the cake in the form of a Swiss meringue frosting. As I gave up on the buttercream, I didn’t have a crumb coat on the cake and so it became a bit of a job spreading the frosting without tearing the cake to bits and collecting crumbs in amongst the stark white of the cake covering. In the end, this was the perfect way of tying the whole thing together and bringing a light texture to the cake to counter the slightly dense whipped coconut cream. It was extremely stable and helped keep the cake moist and fresh.
So the moral here is try this cake out. If you don’t have the specific jam I’ve used, use your favourite flavoured jam alongside a crème patissiere, a whipped cream, or even a Swiss meringue filling – the choice is yours and this cake holds up to many different flavour combinations. Just be sure to let me know which one you try!
Sponge cake:
50g cornflour
10g custard powder
1/2 tsp cream of tartar
1/4 tsp bicarb soda
2 eggs, separated
Pinch salt
100g caster sugar
Blueberry & Violet jam
1. Preheat oven to 170⁰C
2. Grease and line a 20cm cake tin, or five smaller layer tins
3. Sift cornflour, custard powder, cream of tartar and bicarb together.
4. Beat egg whites and salt until bubbly
5. Beat sugar in one Tbsp at a time until thick and meringue-like
6. Beat in egg yolks one at a time
7. Fold in dry ingredients in two batches
8. Spoon mix into prepared tin and place in middle of oven for 18-20 minutes, until feels springy when lightly touched in the centre.
9. Cool in tin for about 5-10 minutes before turning out onto tea towel lined cake rack to complete cooling.
10. If one cake, split horizontally.
11. Heat the jam slightly and brush it over the layers.
Swiss Meringue Icing
4-5 egg whites
1 1/2 cups caster sugar
1. Put egg whites and sugar in a metal bowl over a bain marie on the stove
2. Mix on high over the bain marie for about 15 minutes – the meringue will be thick, glossy, and smooth by this stage.
3. Use to frost the finished cake.

Coconut whipped cream
1 can coconut cream – kept in fridge for at least 24 hours
1/4 tsp xanthan gum
1. Beat the ingredients together on high until you achieve whipped cream consistency and use between cake layers. Alternatively, use a creme patissiere.
Dragon Fruit Creme Patissiere
500ml milk
1 vanilla pod
5 egg yolks
100g caster sugar
50g cornflour
1 Tbsp dragon fruit powder
Small knob of butter
1. Slowly heat milk in medium saucepan over low heat
2. Scrape vanilla bean seeds into milk and whisk before throwing in the pod
3. Heat until almost simmering, remove from heat and infuse for 20 mins
4. Whisk egg yolks with sugar in a separate bowl, until mixture is light, thick and creamy
5. Gradually add cornflour, whisking well after each addition to avoid lumps
6. Slowly pour half the infused milk into the eggs, beating the mixture as you pour, then transfer the lot back to the saucepan with the remaining milk
7. Heat over medium-low heat and stir continuously and quickly for about 10 minutes and the mixture thickens
8. Remove from heat and continue stirring while mixture cools until it is glossy, smooth, thick, and with a slight tremble
9. Pour into container, rub butter over top to prevent a skin from forming, cover and set aside until ready to use

