
Aloha! I’ve been really nostalgic about my trips to Hawai’i which both happened around this time of year. It got so much that I was craving Huli Huli chicken, tropical flavours, a full luau experience and, of course, those sweet little irreplaceable Hawaiian buns. They are so little that on my first trip to Hawai’i I decided to eat them regardless of their wheat content (and boy did I suffer for it later). Plus, the purple kalo (taro) versions looked so inviting!
So here I am, in a no-travel bubble in 2020, and I’m really itching to be on a plane somewhere exotic. And the islands were calling. So, impromptu luau was the call.
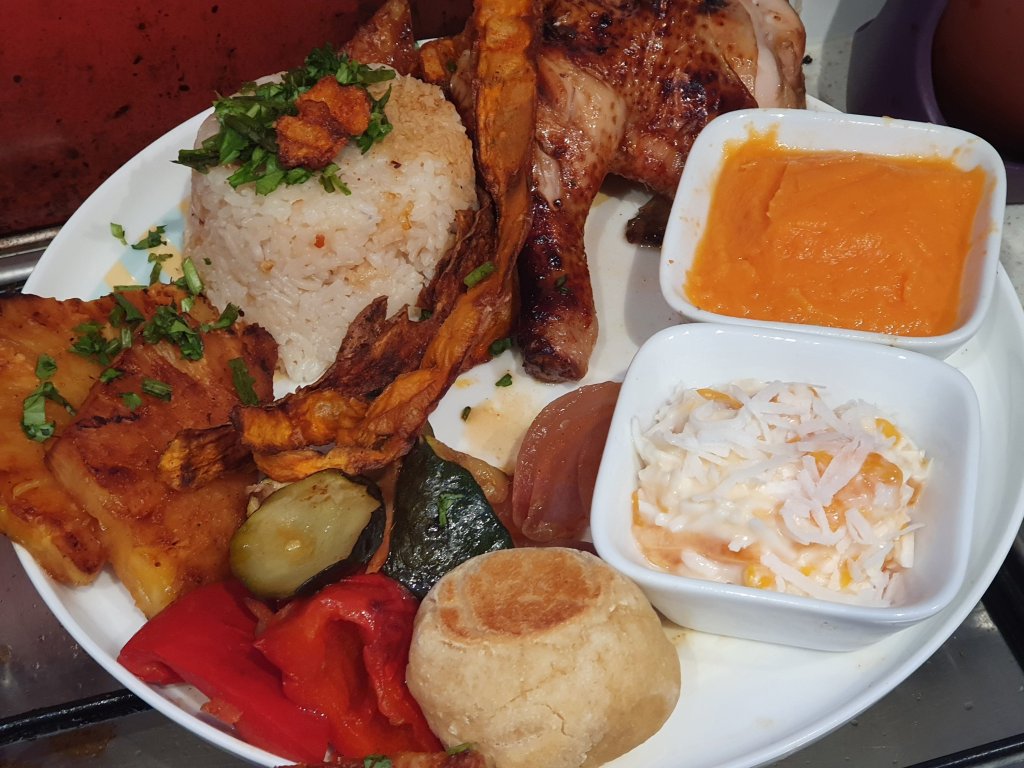
I started with a base of Huli Huli chicken, and then the rest just evolved from there – sweet potato poi (I didn’t have purple kalo), sweet potato chips, mixed veg, pineapple rice, grilled pineapple, mandarin and coconut salad… I wanted one more thing to top off the meal and really make it a Hawaiian luau for me – sweet Hawaiian buns! But they had to be wheat and dairy free.
In fact, I started out making them completely gluten free, but realised I was out of tapioca flour AND glutinous rice flour (don’t tell my flatmate, she’ll be in such shock that my number of flours has reduced to 15), and the cassava flour was going to produce rock cakes, so I opted for white spelt flour.
If you’re not coeliac and you can handle spelt flour, then this is a perfect alternative as it gives you the elasticity that most gluten free flours lack when mimicking the action of gluten. I discovered this when making the Hot Cross Buns earlier this year, and really this is just a variation of that recipe – albeit with a little more experience under my belt.
The trick is to have a sticky dough to work with. The stickier the better when it comes to baking without wheat. This stickiness translates to fluffiness and softeness once baked. Be prepared for messy hands, because it will be worth it in the long run.
As mentioned earlier, you could add flavours/colours to the dough – I’ve seen purple kalo, pink guava buns (oh my!), and even green ones I’m assuming were either pandan or matcha flavoured. You could try pumpkin puree. Basically, whichever puree you use, use it to replace some or all of the coconut yoghurt, or flavour the coconut yoghurt with the matcha/dragon fruit/pandan/guava – you could have a whole rainbow of buns!
Whichever way you try them, let me know how they turn out. I especially would like to know what wonderful tropical creation you come up with, too! Try the recipe below – it’s simple enough for me to complete it while prepping the rest of the luau food, so you’ve no excuse!
Sweet Hawaiian Buns
Ingredients
7g active dry yeast
1/4 cup warm water
2 eggs
1/2 cup pineapple juice (canned is better in this recipe)
1/4 cup water
1/3 cup sugar (feel free to reduce this, like I did to about half of that)
1/2 tsp vanilla extract
1/4 cup Nuttelex, melted
3 cups cassava flour
1 cup white spelt flour
1/4 tsp salt (added to blended flours)
3 Tbsp coconut yoghurt
- Dissolve yeast in warm water and let sit for ten minutes or so
- Beat eggs, pineapple juice, sugar, vanilla, water, melted Nuttelex and the yeast mixture from step 1 together in a mixing bowl/stand mixer.
- Gradually stir in flour mixture, mixing well – it should become pretty thick.
- Add in the coconut yoghurt – you may need more. The dough should come together and should still be rather sticky. Here’s where you use a little judgment and add extra pineapple juice or coconut yoghurt according to how soft and sticky your dough feels.
- Knead the dough on a lightly floured surface – or just knead in the bowl, as I find I can contain the mess a bit more that way.
- Cover with a clean cloth and allow to rise for one hour in a warm spot.
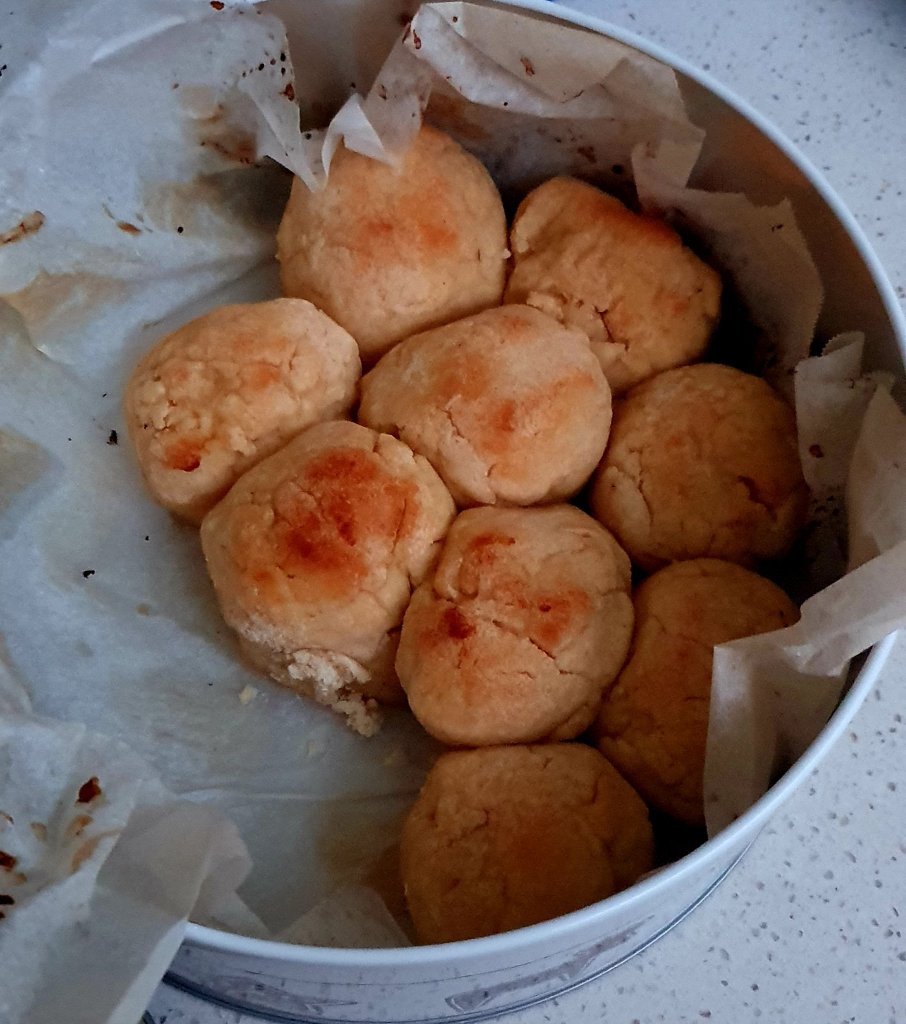
- Once risen, turn out onto floured surface and divide into two parts. Divide each part into eight pieces. Form a roll with each piece, and try to get the seam side down before arranging in a baking paper-lined cake tin – I use a round springform cake tin to control temperature and rise during baking as cassava flour can be a fickle beast and dries out really quickly when baking.
- Allow to rise covered in the tin for 40 mins before brushing with pineapple juice/melted Nuttelex mixture and placing in a 180°C oven for 15-20 minutes.
- Once they’ve cooked and seem to have browned a little (cassava flour notoriously does not brown up much), remove from oven, brush again with more juice/Nuttelex mixture, and allow to cool slightly in the tin before releasing the spring and serving.
- Enjoy!

